September 10, 2026
Locker Installation Requirements: 5 Checks Facility Managers Must Run
Technical, field-tested checklist for architects and facility managers covering ADA reach, anchoring, aisle clearances, 110V circuits, and manufacturer...
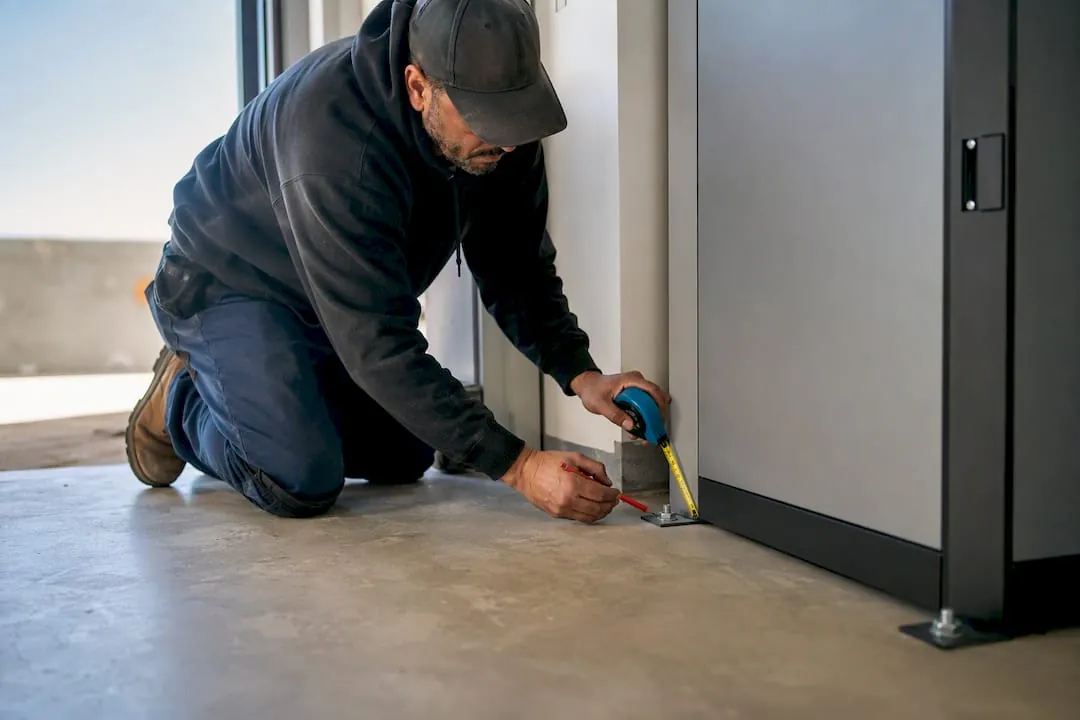
Meeting locker installation requirements comes down to five things: ADA accessibility (at least one unit or a small portion of the bank, with a top shelf no higher than the recommended height for accessibility), correct anchoring for the configuration you’re building, adequate aisle clearance for circulation, a dedicated 110V circuit if you’re adding outdoor lighting or refrigeration, and strict adherence to manufacturer sequencing for squaring and leveling. Skip any one of these and you’re looking at a failed inspection or a callback.
TL;DR:
- Proper anchoring varies by locker configuration, requiring both wall and floor supports for single and multiple unit banks to prevent wobbling or misalignment.
- Electrical and mechanical hookups, such as outdoor lighting or refrigeration, must be specified early, with circuits installed before concrete pouring to avoid costly retrofits.
- Outdoor and moisture-prone locker locations demand corrosion-resistant materials, UV-stable finishes, and drainage planning to ensure longevity in harsh environments.
- Locker layout should prioritize distribution of accessible units across multiple banks and ensure aisle widths and dimensions meet local accessibility and egress standards.
- Thorough site surveys, substrate confirmation, and pre-installation planning for electrical and structural needs are crucial to passing inspections and avoiding delays.
Table of Contents
- What Are the Locker Installation Requirements for Compliance and Permitting?
- How Do You Plan Locker Layout, Tiering, and Aisle Clearances?
- What Anchoring and Fastening Do Different Locker Configurations Require?
- What Power and Mechanical Requirements Apply to Electronic or Outdoor Lockers?
- Which Materials and Environmental Factors Affect Locker Longevity?
- What Is the Correct Step-by-Step Locker Installation Process?
- How Do You Test, Document, and Maintain Lockers After Installation?
- What Luxer One Lockers Bring to Real-World Installations
- An Editorial Take on Getting Locker Installation Right
- Get Turnkey Installation Support From Our Team
- Reference Documents to Keep on File
- Sources
What Are the Locker Installation Requirements for Compliance and Permitting?
Every locker project starts with a paper trail, not a drill. Before anyone touches a wall or pours an anchor bolt, the design and site survey need to confirm a handful of non-negotiables, and skipping this stage is where most permit delays and change orders originate.
Start with unit counts. The 2010 ADA Standards for Accessible Design require at least one accessible locker, or 5% of the total bank, whichever is greater. Accessible units need a top shelf no higher than 48 inches above finished floor, a bottom shelf no lower than 15 inches, and hardware operable with one hand, without tight grasping, pinching, or twisting. These aren’t suggestions baked into a manufacturer catalog. They’re federal standards that inspectors check against, and reach-height violations are among the easiest things for an inspector to flag with a tape measure.
Egress is the second filter. Locker banks can’t obstruct exits, fire hose cabinets, extinguishers, or panic hardware clearance zones, and installation guidance from FSP explicitly flags this as a pre-install safety check, not an afterthought. If you’re retrofitting a corridor, walk the full egress path before you finalize the layout on paper.
Here’s the pre-install checklist worth running against every project:
- Confirm ADA unit count and reach/operation compliance against the accessible-route drawings.
- Verify egress clearances. Nothing blocks a fire door, extinguisher cabinet, or hose connection.
- Inspect the floor and wall substrate. Concrete, tile, and stud walls each need different anchor hardware.
- Check for buried obstructions: conduit, plumbing, HVAC vents, or electrical panels behind the mounting wall.
- Confirm electrical service is available if you’re installing electronic locks, refrigerated units, or outdoor lighting boxes.
- Document sun exposure and humidity levels for any outdoor or semi-conditioned installation site.
Outdoor add-on lighting boxes are a detail that trips up a surprising number of otherwise well-planned jobs. Municipal specifications call for a dedicated 110V outdoor receptacle, and adding that circuit after the concrete is poured turns a simple task into a trenching job.
Statistic Callout: ADA rules require accessible units to be usable “without tight grasping, pinching, or twisting” of the wrist, per the 2010 ADA Standards. That single phrase disqualifies a surprising number of otherwise ADA-height-compliant lock mechanisms, so verify hardware operability during mockup review, not after the units ship.
Pro Tip: Request the accessible-unit reach heights and hardware specs from your locker vendor before finalizing architectural drawings. Retrofitting a bank to swap in ADA-compliant units after installation almost always costs more than specifying them correctly the first time.
How Do You Plan Locker Layout, Tiering, and Aisle Clearances?
Sizing a locker bank starts with volume, not floor space. Estimate peak daily package or user volume for the property, then work backward into unit count and tier configuration. A property running high delivery volume with fast turnover benefits from more, smaller compartments (double or triple tier) rather than fewer large ones, since more doors moving means shorter average wait times per resident.
Tier selection follows use pattern. Single-tier lockers suit bulky or irregular items and gym or industrial settings where users need full-height access. Double and triple tier configurations maximize door count per linear foot of wall, which is usually the right call for apartment package rooms and mailrooms where footprint is limited and volume is high.
Aisle width is where a lot of layouts get tight in ways that only show up during a site walk. Industry installation guidance sets these minimums:
Those figures come from installer field practice rather than a single published code, so treat them as a planning baseline and confirm against your local accessible-route requirements, particularly where a wheelchair turning radius intersects the aisle.
Dimensioning matters just as much as clearance. Locker widths commonly run 12, 15, or 18 inches, with depths typically 15 to 24 inches depending on package size targets. When a bank doesn’t divide evenly into the available wall length, filler panels close the gap rather than forcing an odd-width end unit. Calculate total locker width (TLW) by summing individual unit widths plus filler panels, then compare that figure against your as-built wall dimension before you order hardware, not after.
A few layout habits worth building into every design review:
- Distribute accessible units across multiple banks rather than clustering them all in one corner, so residents on different floors or wings have comparable access.
- Keep locker banks clear of delivery cart paths and dolly turning radii near loading docks.
- Never position a bank so it narrows an egress corridor below code minimum width, even temporarily during a phased build-out.
- Locate the accessible unit within the same visual bank as standard units, not off to the side as an obvious afterthought.
Placement relative to the building’s delivery route deserves its own look. A locker room that’s technically compliant but forces couriers to navigate two turns and a narrow doorway will generate complaints regardless of how well the interior layout works. Walk the likely delivery path from the building entrance to the locker room before finalizing where the bank sits within that room.
What Anchoring and Fastening Do Different Locker Configurations Require?
Anchoring requirements change based on configuration, and getting this wrong is the most common reason lockers wobble, doors misalign, or units get flagged during inspection. Manufacturer assembly instructions are specific: single-run lockers need both floor and wall anchoring. Double-row, back-to-back, and island configurations need floor anchoring at minimum, with wall or ceiling anchoring added wherever the structure allows it.
The logic makes sense once you think through the physics. A single row against a wall has one point of lateral support, so the wall anchor is doing real structural work. An island configuration in the middle of a room has no wall to lean on, which means the floor anchors and the mutual rigidity of joined units are carrying the entire load.
Fastener choice depends entirely on substrate:
- Concrete floors and walls: masonry anchors or Tapcon screws, sized to the load rating specified by the locker manufacturer.
- Wood stud walls: lag bolts driven into studs, never just into drywall or plaster.
- Tile over concrete: concrete anchors set through the tile into the slab below, not adhesive-only mounts.
Sequencing matters as much as fastener choice. Manufacturer installation guidance is consistent on this point: get the base level and the first unit square before anything gets permanently fastened. Clamp adjacent lockers together, drill through the pre-marked starter holes to join units side by side, and only then drive anchors into the floor and wall at the specified locations.
Skipping the leveling step is where most post-installation door problems originate. An uneven floor that looks close enough by eye can throw a door out of alignment by enough to prevent proper latch engagement, and shims at the base are cheap insurance against a problem that’s expensive to fix after the units are anchored.
Pro Tip: Keep a box of shims of varying thickness on every install, even for slabs that look flat. A floor that’s off by a quarter inch over a 10-foot run is common enough that you should plan for it rather than discover it mid-installation.
Handling heavier banks requires basic jobsite discipline that’s easy to skip when a crew is behind schedule: use at least two installers for any bank section over roughly 100 pounds, wear cut-resistant gloves when handling sheet steel edges, and use proper lifting technique rather than muscling a locker section into place solo.
What Power and Mechanical Requirements Apply to Electronic or Outdoor Lockers?
Electronic locks, refrigerated units, and outdoor lighting boxes all draw power, and coordinating that power supply early avoids the single most expensive kind of change order on a locker project: trenching or conduit work added after the concrete has already been poured.
Outdoor add-on lighting boxes mounted on top of locker banks typically need a dedicated 110V outdoor-rated receptacle, and municipal installation specifications call this out directly as a requirement rather than an option. That circuit should run through weatherproof conduit and terminate in a GFCI-protected outdoor junction box rated for the installation’s exposure level.
A few mechanical and electrical items to lock down before installation day:
- Confirm GFCI protection on every outdoor circuit, and use weatherproof junction boxes rated for direct exposure if the units aren’t under a canopy.
- Ground all electronic locker components per the manufacturer’s wiring diagram, and add surge protection on circuits feeding access control panels.
- Plan for battery backup on electronic access systems so residents can still retrieve packages during a power interruption.
- Confirm remote monitoring connectivity (cellular or hardwired network) before installation so signal strength issues surface during planning, not after go-live.
- For refrigerated units, budget a dedicated circuit sized to the compressor load, plus a condensate drain line routed to an approved discharge point.
- Leave manufacturer-specified clearance around refrigerated units for ventilation. Blocking airflow shortens compressor life.
Coordinating with the building’s electrical engineer at the design stage, not the week before installation, is the difference between a smooth commissioning day and a locker bank sitting dark for weeks waiting on an inspection slot. Refrigerated units in particular need their circuit sized and inspected before the units arrive on site, since retrofitting a dedicated circuit into a finished wall is disruptive and slow.
Statistic Callout: The 110V outdoor receptacle requirement for locker lighting boxes shows up specifically in municipal procurement documentation, which means it’s treated as a baseline spec item in public procurement, not a nice-to-have upgrade.
Which Materials and Environmental Factors Affect Locker Longevity?
Material choice determines whether a locker bank looks and functions the same in five years or turns into a maintenance headache within one winter. Powder-coated steel handles most indoor environments well and resists scuffing in high-traffic mailrooms. Stainless steel earns its higher price in coastal or high-humidity settings where corrosion resistance matters more than cost. Laminate finishes suit indoor, climate-controlled settings where aesthetics matter but weather exposure isn’t a factor.
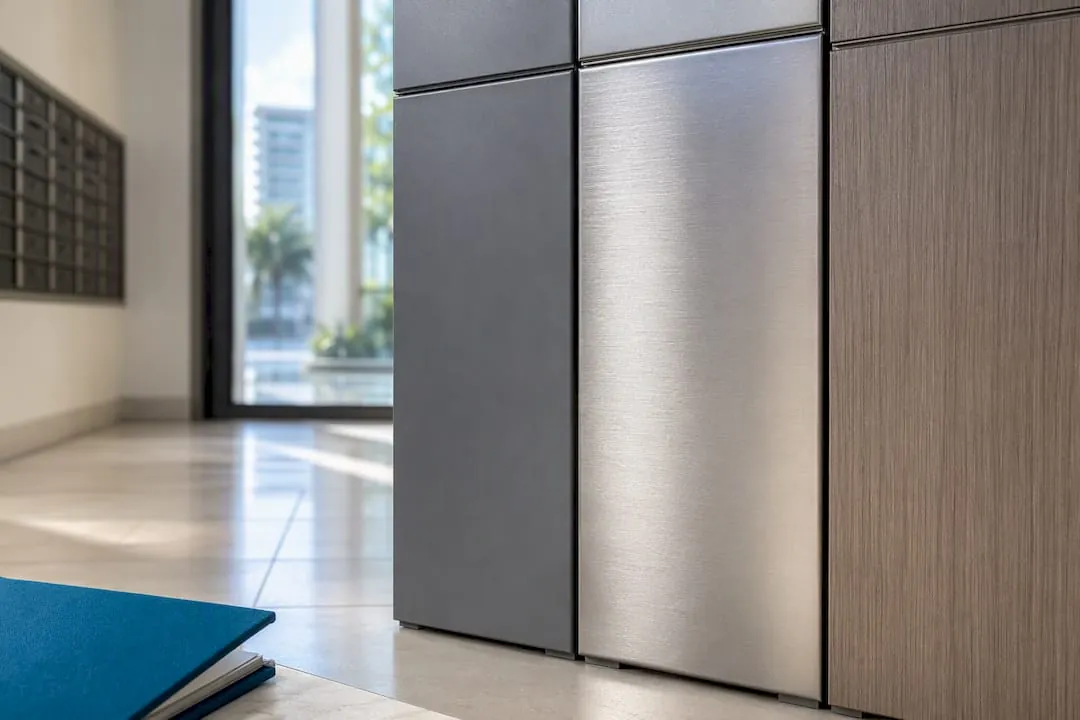
Climate control isn’t just about occupant comfort. Extreme temperature swings and humidity accelerate degradation of both finishes and electronics, and industry guidance on climate-controlled storage points to exactly this trade-off: unconditioned spaces put more stress on materials and mechanical components over time than conditioned ones. That’s a real consideration when deciding whether an electronic locker bank belongs in an open breezeway or a conditioned vestibule.
For genuinely outdoor installations, plan around these factors rather than treating them as add-ons:
- Specify UV-stable finishes and hardware. Cheaper coatings chalk and fade within a couple of seasons of direct sun exposure.
- Add a canopy or overhang where feasible to reduce direct rain and sun exposure on door seals and electronic components.
- Route drainage so water doesn’t pool at the base of the unit, which accelerates corrosion at the anchor points specifically.
- Use corrosion-resistant fasteners (stainless or coated) for any coastal or high-humidity installation, since standard zinc-plated hardware corrodes visibly within a year or two in salt air.
- Ensure ventilation gaps prevent condensation buildup inside electronic housings, particularly in humid climates with wide day-to-night temperature swings.
Weatherproof kiosks and refrigerated units both trade a higher upfront spec for lower long-term maintenance in demanding climates. A property in a coastal or high-humidity region will generally come out ahead specifying weatherproof hardware from the start rather than replacing corroded fasteners and faded panels every couple of years. Read more on outdoor installation considerations for a deeper look at climate-specific specification choices.
Pro Tip: If you’re unsure whether a semi-exposed location (a breezeway or open corridor) counts as “outdoor” for spec purposes, treat it as outdoor. Wind-driven rain and temperature swings reach further into a covered space than most designers expect.
What Is the Correct Step-by-Step Locker Installation Process?
Installation day goes smoothly when the prep work is done and the crew follows a consistent sequence rather than improvising bank by bank. Manufacturer installation sheets are explicit that installers shouldn’t start until every carton is accounted for and site conditions match the submittal drawings.
Tools and PPE to have on hand before starting:
- Tape measure, framing square, and a 4-foot level
- Power drill with masonry and metal-rated bits
- Shims (multiple thicknesses)
- Clamps sized for the locker gauge
- Pop rivet gun
- Circular saw for filler panel trimming
- Torque tool for anchor fasteners
- Cut-resistant gloves, safety glasses, and hard hats where overhead work is involved
The installation sequence:
- Verify contents against the packing list. Confirm every carton, fastener bag, and accessory kit is present before opening the first box. A missing filler panel discovered mid-install stalls the whole crew.
- Confirm the base is level. Check the floor across the full run of the planned bank, not just at one end, and note any areas that will need shimming.
- Set and square the first unit. This anchors the reference point for the entire run. If the first locker is out of square, that error compounds across every unit joined to it.
- Clamp adjacent units together. Bring the next locker into position, align the pre-drilled starter holes, and clamp before drilling.
- Join units through the starter holes. Drive sex bolts or the manufacturer-specified fasteners through the aligned holes to lock the bank together as a single rigid structure.
- Repeat squaring and clamping down the full run. Check level and square again every two to three units, since small errors compound quickly across a long bank.
- Anchor to floor and wall at specified locations. Drill anchor points exactly where the manufacturer drawing calls for them, not wherever seems convenient, and use the fastener type matched to your substrate.
- Install filler panels and trim slope-tops. Cut fillers to close gaps at the end of a run, and trim slope-top panels for a clean roofline if specified.
- Install locks and handles. Mount hardware after the structural anchoring is complete, not before, so hardware alignment isn’t disturbed by later drilling.
- Test every door and lock. Swing each door through its full range, confirm latch engagement, and cycle every lock mechanism, including accessible units, before calling the job done.
- Photograph and record. Document anchor locations, fastener types used, and serial numbers for every unit. This record becomes essential for warranty claims and future maintenance.
Back-to-back and island configurations add one more layer: since there’s no wall to anchor against, floor anchoring becomes the primary structural support, and the manufacturer’s floor-mount spacing has to be followed precisely rather than approximated.
Pro Tip: Photograph anchor locations and fastener types before you close up any access panels or trim pieces. Six months from now, when a facilities tech needs to service a lock mechanism, that photo saves an hour of guesswork.
How Do You Test, Document, and Maintain Lockers After Installation?
Commissioning is where you catch problems while the installer is still on site, not three months later when a resident reports a stuck door. Run through latch engagement on every unit, cycle each lock mechanism (including electronic access credentials if applicable), confirm lighting and electrical connectivity on powered units, and verify refrigeration units are holding temperature before signing off.
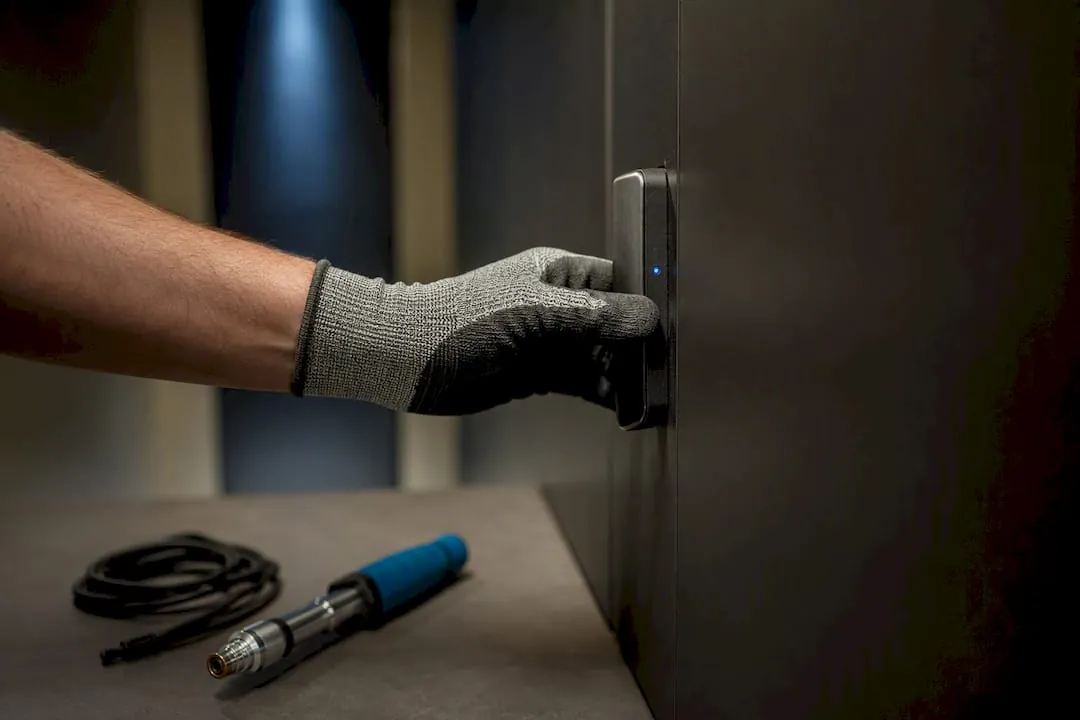
Anchorage needs periodic attention too. Vibration, foot traffic, and temperature cycling can loosen fasteners over time, so build a re-torque check into your maintenance schedule rather than waiting for a wobble to prompt a look.
Ongoing maintenance that keeps a locker bank functioning for its full service life:
- Inspect for corrosion at anchor points and exposed fasteners, especially on outdoor or coastal installations.
- Lubricate hinges and latch mechanisms on a regular schedule to prevent binding.
- Replace worn strike plates, handles, or gaskets before they fail completely, not after.
- Re-torque anchor bolts periodically, particularly on high-traffic banks or after the first year of settling.
- Keep drainage paths and ventilation gaps clear of debris on outdoor and refrigerated units.
| Maintenance Item | Recommended Frequency |
|---|---|
| Anchor bolt torque check | Annually, or after any noticeable movement |
| Hinge and latch lubrication | Every 6 months |
| Corrosion inspection (outdoor units) | Quarterly |
| Refrigeration system check | Per manufacturer service schedule |
| Electronic access system test | Monthly |
Keep every installation manual, anchor location diagram, fastener specification sheet, commissioning photo, and warranty document together in a single maintenance folder. When a repair call comes in two years from now, that folder is what tells the technician what they’re working with, rather than starting from scratch. For anything beyond routine lubrication or panel replacement, particularly electrical or refrigeration faults, escalate to a licensed trade or the manufacturer’s factory service rather than improvising a fix.
What Luxer One Lockers Bring to Real-World Installations
The requirements covered in this guide apply to multifamily package management solutions, including indoor and outdoor electronic package lockers, refrigerated units, automated package rooms, and weatherproof kiosks, which all carry anchoring, ADA, and electrical planning demands that must be addressed carefully to ensure smooth deployment.
A few things worth pulling into your own planning process:
- ADA-compliant unit distribution matters as much for a 40-unit apartment mailroom as it does for a corporate facility. Review the ADA locker requirements guide before finalizing a bank layout.
- Outdoor kiosks need weatherproofing decisions made at the design stage. The outdoor installation considerations resource covers the specific trade-offs between canopy protection, drainage, and finish selection.
- Refrigerated locker banks bring cold-weather performance questions that indoor units never face. The cold-weather locker technology guide walks through freeze-resistant material choices.
- Year-round outdoor performance depends on decisions made months before installation day. The year-round outdoor locker performance guide covers long-term corrosion resistance and HVAC coordination for exposed installations.
Rapid deployment and custom configuration matter most when a property is under leasing pressure and can’t afford a slow permitting cycle. Working with a provider who understands the anchoring, electrical, and accessibility requirements up front, rather than discovering them during a failed inspection, is what keeps a project on schedule.
An Editorial Take on Getting Locker Installation Right
The technical requirements in this guide aren’t complicated individually. What trips up most projects is treating them as sequential rather than interdependent. A layout that satisfies aisle width minimums but ignores accessible-unit distribution across banks will pass one review and fail another. An anchor plan drawn up before anyone confirms the floor substrate is a guess dressed up as a spec.
Conventional advice treats ADA compliance as a box to check during design and anchoring as a job-site decision made on the fly. That gets the sequence backward. The unit count, reach heights, and hardware operability requirements should shape the layout from the first drawing, not get retrofitted onto a floor plan that’s already final. Similarly, anchoring strategy depends on floor and wall substrate information that should come from a site survey, not an assumption made at the design table.
If there’s one priority worth putting ahead of everything else, it’s this: confirm substrate, electrical availability, and accessible-route clearances before you finalize a single dimension on paper. Everything downstream, from fastener selection to circuit sizing, gets easier when that groundwork is solid.
Get Turnkey Installation Support From Our Team
Specifying and installing a compliant locker bank involves more moving parts than most RFPs account for: site surveys, permitting coordination, weatherproofing decisions, refrigeration circuits, and access control integration all need to line up before installation day. We handle that coordination directly, rather than leaving a property team to chase down separate vendors for hardware, electrical, and software.
When requesting a quote, ask for documentation covering anchor locations, fastener specifications, electrical load requirements, and ADA unit distribution, since that paperwork is what your permitting office and future maintenance team will both need. We provide that documentation as part of nationwide installation support, with installation typically completed 4-6 weeks from signed agreement, alongside custom configuration for indoor, outdoor, and refrigerated setups. If your property is evaluating an automated package room or a full package room management service, start with the automated package room guide for multifamily properties to see how the pieces fit together, then request a site-specific quote.
Reference Documents to Keep on File
Save these alongside your permit submittal and property maintenance records:
- The 2010 ADA Standards for Accessible Design, which contains the full reach-height tables and operable-parts requirements referenced throughout this guide.
- Manufacturer installation manuals covering anchor hole locations, squaring and leveling tolerances, and fastener specifications for your specific locker model.
- Assembly instructions detailing floor and wall anchoring requirements for single-row versus multi-row configurations.
- Site safety and egress guidance covering clearance requirements around fire equipment and exits during and after installation.
Keep digital and printed copies in the property’s maintenance folder. Permitting offices and future service technicians will both need to reference these documents long after the installation crew has left the site.
Sources
- Locker installation manual (Bradley/Lenox PDF excerpt)
- Locker assembly instructions (Cisco-Eagle)
- FSP installation guide (site safety and egress considerations)
Recommended
Ready for a Luxer One® package locker quote?
Tell us your unit count and we'll send right-sized pricing with a fast response time.
Get my free quote