September 22, 2026
Install Outbound Shipping Lockers in 2–6 Weeks for Property Managers
A practical, action-first checklist for property managers to enable outbound shipping lockers: enable carriers in the portal, enforce printed-label rules,...
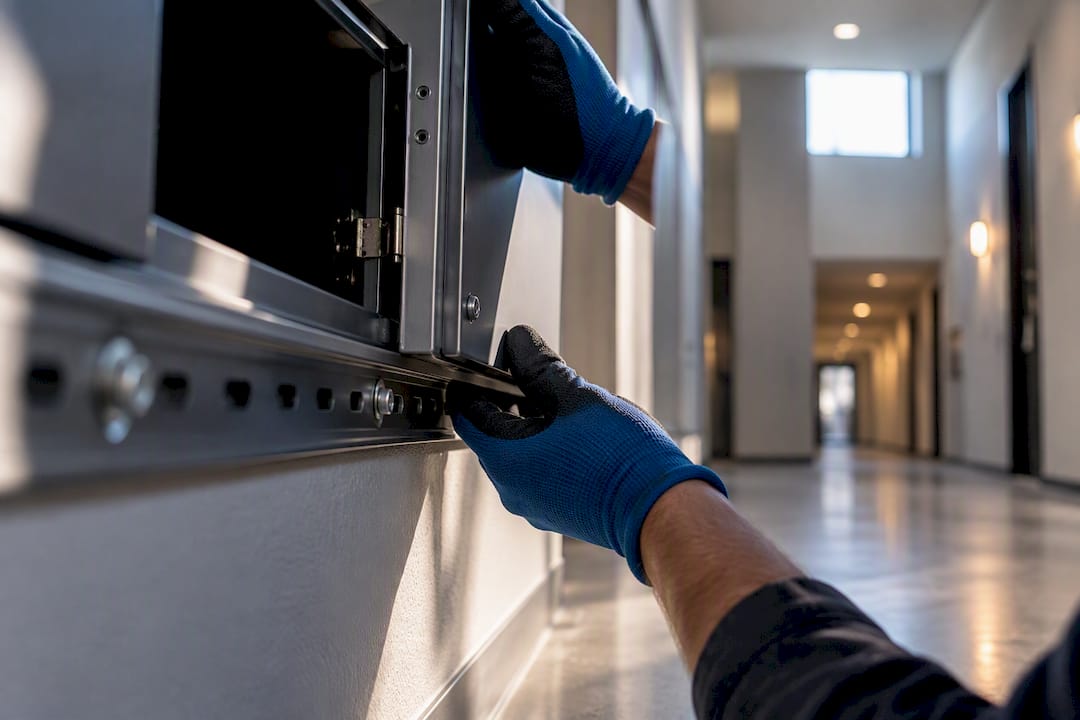
Outbound shipping lockers let residents drop off pre-labeled packages for carrier pickup without a trip to the leasing office. The single action that gets this running: log into your building manager portal, open the carriers tab, and enable outbound shipping for each carrier you want to support. That one toggle shifts package handling off your staff and hands residents a 24/7 self-service option.
TL;DR:
- Outbound shipping requires residents to print and scan prepaid labels before locker acceptance, with clear signage and communication to prevent confusion.
- Vendors should be asked for a concrete installation timeline of two to six weeks, and inquire about financing, site readiness, and maintenance support upfront.
- Proper carrier onboarding involves toggling support in the management portal for each carrier and confirming a green check mark to ensure system functionality.
- Indoor, outdoor, refrigerated lockers, and package rooms can support outbound workflows, but site conditions and resident volume determine the best hardware mix.
- Running a test transaction before launch helps identify label scanning issues early, reducing resident complaints and ensuring smooth onboarding.
Table of Contents
- How Do Resident and Carrier Workflows Work for Outbound Shipping?
- What Should Managers Do to Enable Outbound Shipping?
- What Operational Benefits Should Managers Expect?
- What Technical Requirements Do Outbound Lockers Have?
- What Should Managers Plan for Before Installation?
- What Should Managers Ask Vendors Before Signing?
- The Setup Everyone Skips (and Regrets Later)
- Ready to Add Outbound Shipping to Your Property?
- Sources
- FAQ
How Do Resident and Carrier Workflows Work for Outbound Shipping?
The resident side of outbound shipping runs through the same kiosk used for package pickup, just a different menu path. A resident walks up, taps “Ship a Package,” and the system walks them through a short sequence before the locker door pops open.
- Log into the kiosk with a resident credential.
- Select the shipping carrier from the list your property has enabled.
- Choose a locker size if the kiosk offers size options.
- Scan or photograph the pre-paid, pre-printed shipping label.
- Place the package inside and close the door.
The resident kiosk workflow ends with a confirmation notification, and the resident gets a second alert once the carrier actually collects the item. That second ping matters more than it sounds. It closes the loop for residents who’ve been burned before by drop boxes where a package sits for two days with no proof anyone ever picked it up.
Carriers work from the opposite side of the same system. A driver enters an access code or scans a credential assigned to that carrier, selects the outbound pickup option, and the locker pops open for collection. The system checks each package in as it’s removed, then the driver exits and the pickup status updates automatically.
Every step gets logged. If a carrier misses a scheduled route or a package sits past its expected window, that gap shows up in the audit trail, not in a resident’s angry email to your front desk.
What Should Managers Do to Enable Outbound Shipping?
Turning outbound shipping on takes minutes inside the portal. Making it work smoothly for residents and carriers takes a bit more prep.
Start with the portal configuration itself:
- Log into the building manager portal and open the carriers tab.
- Toggle outbound shipping to “on” for each carrier you plan to support.
- Confirm the change shows a green check mark next to that carrier.
- Repeat for every carrier you’re onboarding, since each one is toggled individually.
Once the settings are live, shift to operational readiness. Post kiosk signage near mailrooms and package rooms explaining that residents need a printed label in hand before they approach the locker. A phone screenshot of a label usually won’t scan cleanly, so tell residents plainly: print it first. Brief your leasing staff so they can answer the two questions residents ask most: which carriers are supported, and where the nearest label printer is (many properties point residents to a business center or a nearby pack-and-ship location).
Lock down security while you’re in there. Restrict carrier access to specific pickup windows if your platform supports scheduling, and check that access logging is turned on so every open, deposit, and pickup ties back to a timestamped record.
Pro Tip: Run a test transaction yourself before residents ever see the feature. Ship a dummy label through the kiosk end to end so you catch label-scanning quirks before a resident does.
What Operational Benefits Should Managers Expect?
The most immediate change property teams notice is how much outbound traffic disappears from the leasing office counter. Residents who used to hand a package to staff for drop-off now handle it themselves at any hour, and that shift is measurable within the first few weeks.
Watch these numbers to show the impact:
- Outbound shipment volume per week
- Pickup timing distribution, especially same-day versus within 48 hours
- Staff hours reclaimed from manual package handling
- Resident satisfaction scores tied to package services
Properties report a high percentage of packages picked up the same day and most within two days once outbound and inbound workflows both run through automated lockers. That kind of turnaround is only possible because the system, not a staff member, is tracking every handoff. The automated audit trail also cuts down disputes: when a resident insists a package never got picked up, the timestamp log usually settles the question in seconds instead of a back-and-forth email chain.
What Technical Requirements Do Outbound Lockers Have?
Every outbound transaction hinges on one requirement that trips up new residents more than anything else: the label has to be printed and pre-paid before the kiosk will accept the package. The system needs a clear photograph or scan of that label to confirm the shipment before the locker door will lock over it. A blurry photo, a label folded at the wrong angle, or a mobile-only QR code without a physical printout will stall the process every time.
Not every locker type handles outbound shipping the same way. The hardware options that support it include:
- Indoor electronic lockers for lobby or mailroom placement
- Outdoor weatherproof kiosks for properties without indoor space or with satellite buildings
- Refrigerated lockers for returns involving perishable or temperature-sensitive items
- Package rooms for higher-volume properties needing more compartments than a bank of lockers can offer
On the integration side, confirm your locker platform talks to your property management software, since that connection is what keeps resident accounts and unit numbers in sync without manual entry. Confirm the system also supports video surveillance at pickup points and has stable network connectivity, since a dropped connection mid-transaction is the most common reason a resident’s pickup notification never fires. USPS runs a comparable model with its Smart Lockers program, where residents scan a QR code to complete a self-service shipment. It’s a useful reference point for how label and QR based workflows scale at a national level.
What Should Managers Plan for Before Installation?
Site layout decisions come first, and they’re harder to reverse than a software setting. Indoor placement near a lobby or mailroom keeps foot traffic contained and protects hardware from weather, but it eats floor space you might want for other amenities. Outdoor kiosks free up interior square footage and work well for properties with satellite buildings, though they need a covered or weather-rated enclosure and a path that meets ADA access requirements. Either way, confirm the carrier’s delivery vehicle actually has room to pull up and load near the unit.
- Match locker count and compartment size mix to resident count and your busiest delivery weeks, not your average week. Holiday-season volume is usually 2 to 3 times a normal week’s traffic.
- Ask vendors for a realistic installation lead time in writing, not a verbal estimate, since power and network runs can add days if the site wasn’t pre-wired.
- Request details on financing terms, white-glove installation scope, and what’s covered under the ongoing maintenance contract before signing anything.
Installation windows of two to six weeks, depending on site readiness, are typical, which is worth using as a benchmark when comparing vendor timelines during procurement.
What Should Managers Ask Vendors Before Signing?
A trusted Luxer One® partner brings more to a deployment than hardware. Some vendors work across indoor, outdoor, and refrigerated locker formats, and pair each install with white-glove setup so your team isn’t left configuring carrier credentials on your own.
When you’re evaluating vendors, put these questions on the table directly:
- What’s the realistic deployment timeline from contract signing to a working system?
- Are financing options and price-protection guarantees available in writing?
- How is carrier onboarding handled, and who coordinates access codes with local drivers?
- What does local maintenance support look like once the system is live?
Properties that get these answers upfront tend to see the outcomes that matter most in year one: less time at the front desk handling packages, faster resident pickup, and a maintenance relationship with predictable response times instead of a call center that never answers.
The Setup Everyone Skips (and Regrets Later)
Most property teams treat outbound shipping as an afterthought bolted onto inbound package lockers they already have. That’s backward. Residents who ship packages regularly, returning online purchases, mailing gifts, running a small side business from their apartment, are often your most engaged tenants, and a clunky outbound experience is the kind of small friction that shows up in renewal decisions months later.
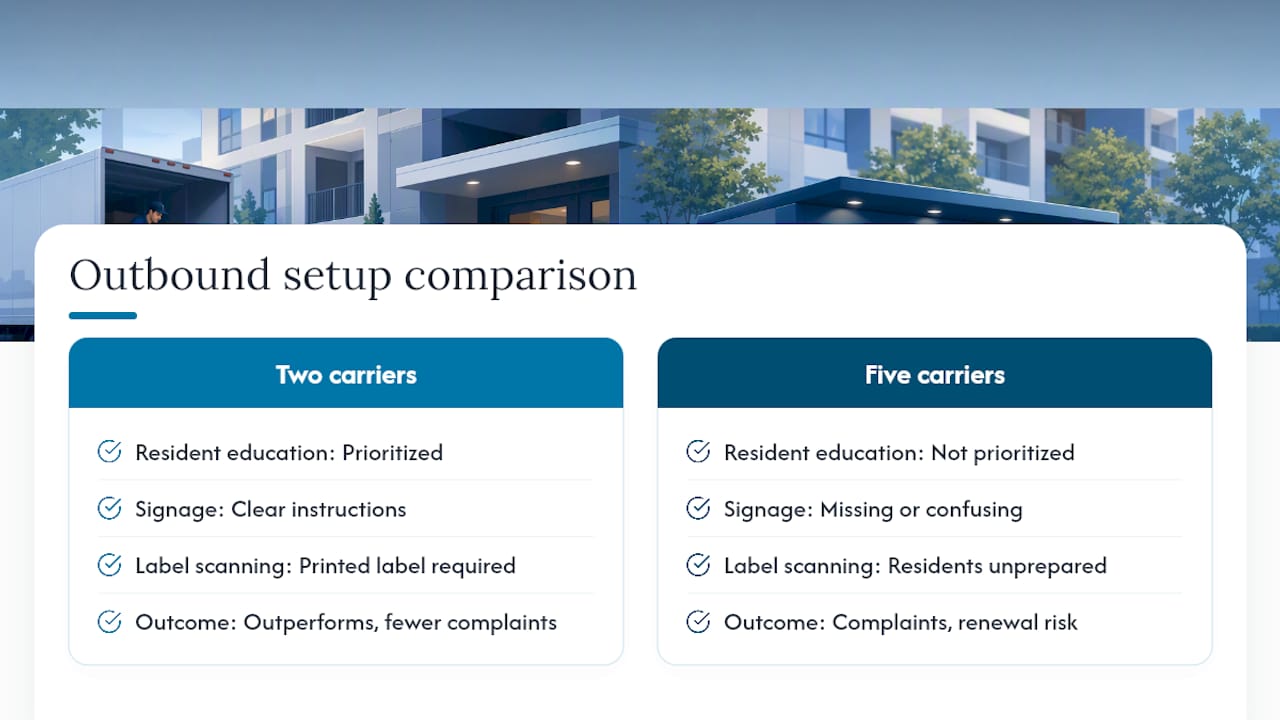
The conventional advice treats this as a “flip the switch” feature. It isn’t. The label-scanning step is where deployments actually succeed or fail, and it’s almost always a signage and communication problem, not a hardware problem. If residents don’t know they need a printed label before they walk up to the kiosk, you’ll get complaint calls that have nothing to do with your locker system and everything to do with a missing sign.
Prioritize resident education before you prioritize adding more carriers. A property with two well-supported carriers and clear instructions will outperform a property with five carriers and confused residents every time.
— Locker Solutions
Ready to Add Outbound Shipping to Your Property?
Locker Solutions builds outbound shipping into every system it deploys, whether that’s indoor parcel lockers, outdoor kiosks, or refrigerated lockers for returns that need temperature control. Where competitors sell hardware and leave the rest to your leasing staff, Locker Solutions pairs the install with white-glove setup and, if you want it, on-site package management so your team never has to babysit the carrier onboarding process alone.
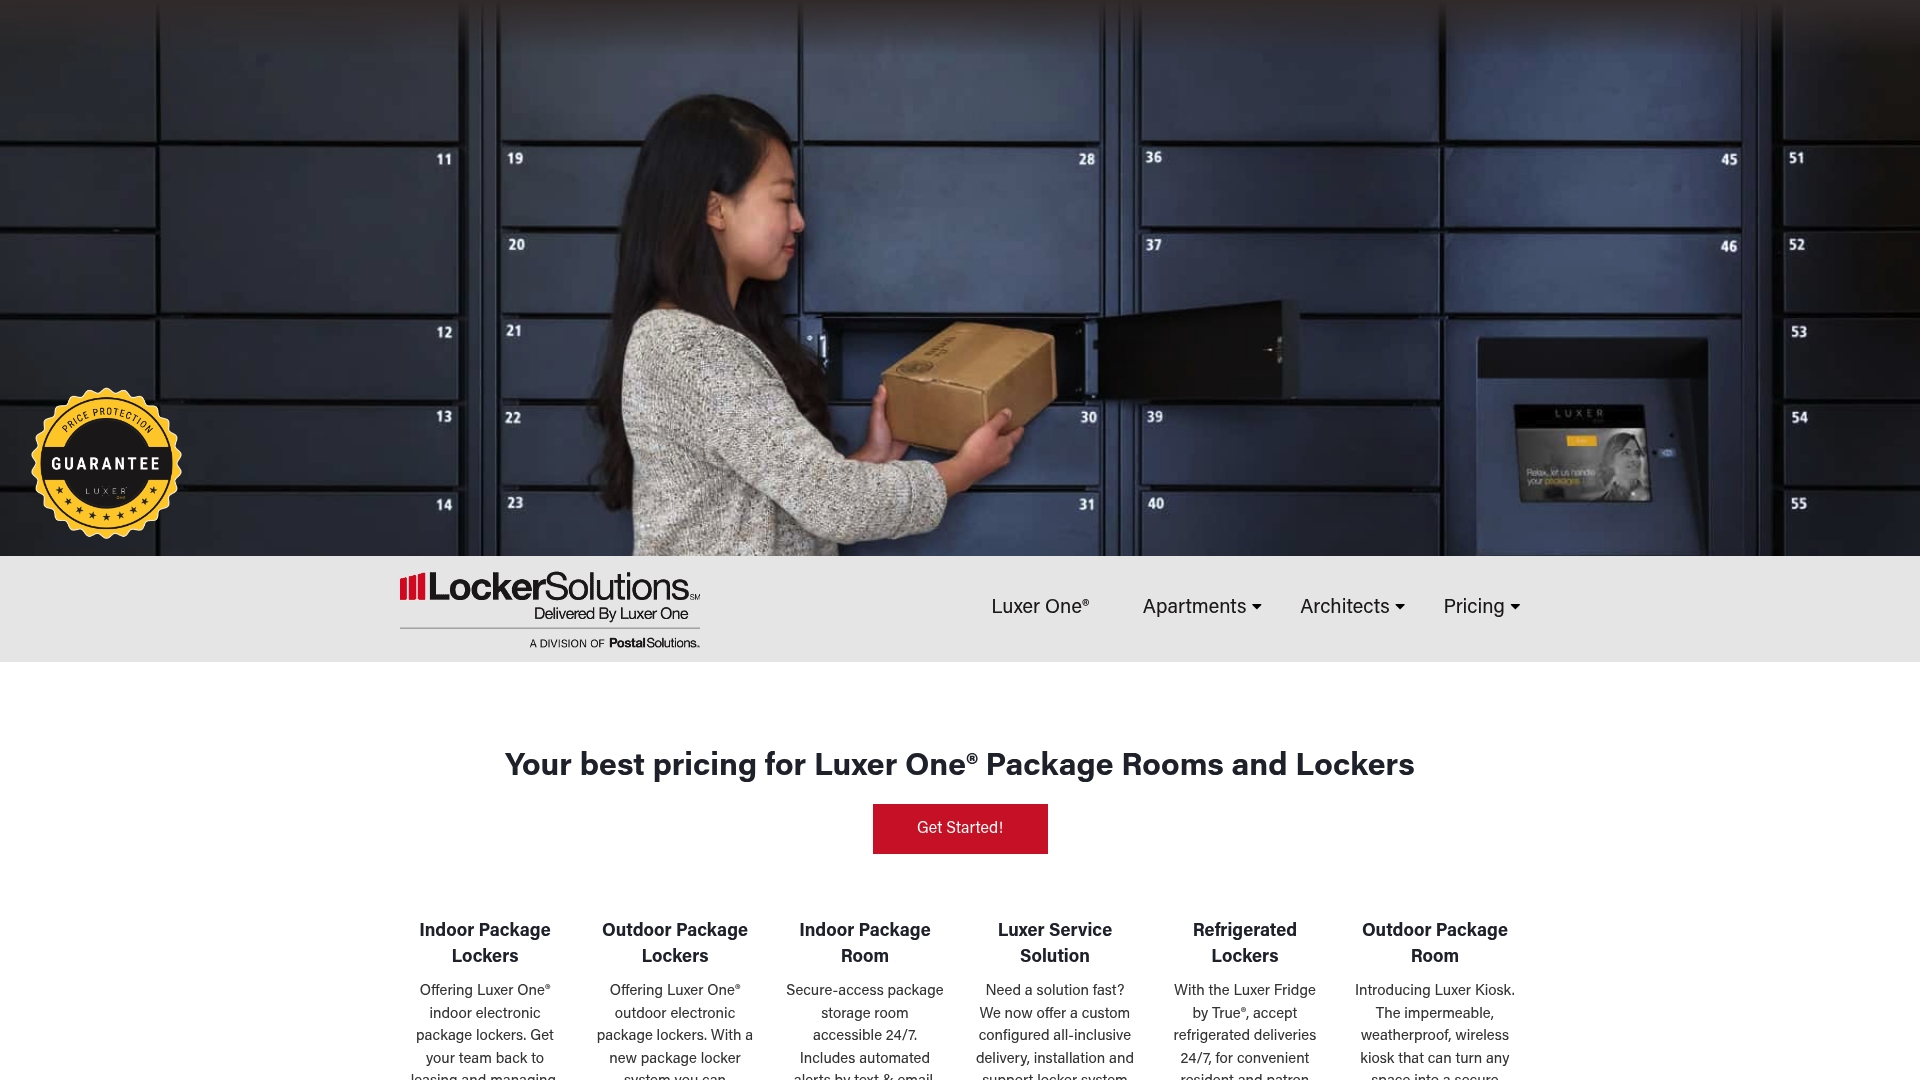
If your leasing office is still handling outbound shipments by hand, that’s staff time you’re paying for every week that a locker system could absorb instead. Request a site assessment to see how many outbound compartments your resident count actually needs, ask about financing and price-protection terms, and get a real installation timeline instead of a guess. Start by reviewing Locker Solutions’ Luxer One® installation options and requesting a sample configuration for your property.
Sources
FAQ
What Are Outbound Shipping Lockers?
Outbound shipping lockers let residents drop off pre-labeled packages inside a smart locker for carrier pickup, instead of handing them to leasing staff. The resident scans a pre-paid label at a kiosk, and the carrier collects it later using an access credential.
Do Residents Need a Printed Label to Ship a Package?
Yes. The kiosk requires a photograph or scan of a pre-paid, pre-printed shipping label before it will accept the package into the locker. A screenshot on a phone typically won’t scan reliably, so residents need a physical printout.
How Do Property Managers Enable Outbound Shipping?
Managers enable outbound shipping through the building manager portal by opening the carriers tab, toggling the feature on for each supported carrier, and confirming the green check mark that shows the setting is active. Each carrier needs to be enabled individually.
How Long Does Locker Installation Take?
Deployment timelines vary by site readiness, but Installation windows of two to six weeks for a Luxer One® system are generally quoted, covering hardware setup to carrier onboarding. Ask any vendor for a written timeline rather than a verbal estimate during procurement.
What Locker Types Support Outbound Shipping?
Indoor electronic lockers, outdoor weatherproof kiosks, refrigerated lockers, and automated package rooms can all support outbound shipping workflows. The right mix depends on resident volume, available space, and whether the property needs temperature-controlled compartments for returns.
Recommended
Ready for a Luxer One® package locker quote?
Tell us your unit count and we'll send right-sized pricing with a fast response time.
Get my free quote